# Here’s How to Format a USB Drive on Windows
Formatting a USB drive may seem like a straightforward process, but it can be essential in various scenarios, whether you’re preparing it for a new use, clearing out unwanted data, or troubleshooting issues. At Best Choice, we understand that technology can sometimes be confusing, especially when it comes to managing digital storage solutions. We want to guide you through the process of formatting a USB drive on Windows, empowering you to manage your business’s data more effectively.
In this article, I’ll provide you with simple step-by-step instructions to format your USB drive on a Windows machine. But before we dive into the “how,” let’s explore *why* you might need to format a USB drive in the first place. You may need to format your USB drive if you’re switching the file system, erasing sensitive data, or simply giving it a fresh start. Whatever the reason, formatting can optimize your USB for better performance, improve compatibility, and maintain data security—a crucial factor for any business.
Why Format a USB Drive?
There are multiple reasons for formatting a USB drive:
- Changing File Systems: If you’re using a USB drive across different operating systems (Windows, macOS, Linux), formatting can ensure compatibility.
- Clearing Data: Formatting wipes all the data, ideal for selling or repurposing the drive.
- Troubleshooting: Sometimes drives become corrupted or have issues that a format can resolve.
- Reclaiming Space: Format to recover space that might have been lost due to errors or bad sectors.
Knowing when and why to format your USB drive can lead to more efficient file management—something we emphasize at Best Choice in our IT consulting services.
How to Format a USB Drive on Windows
Now that you’re aware of why you might want to format a USB drive, let’s get into the process itself. Follow these easy steps:
Step 1: Insert the USB Drive
First, plug the USB drive into an available USB port on your Windows computer. Wait for a few moments for your system to recognize the device.
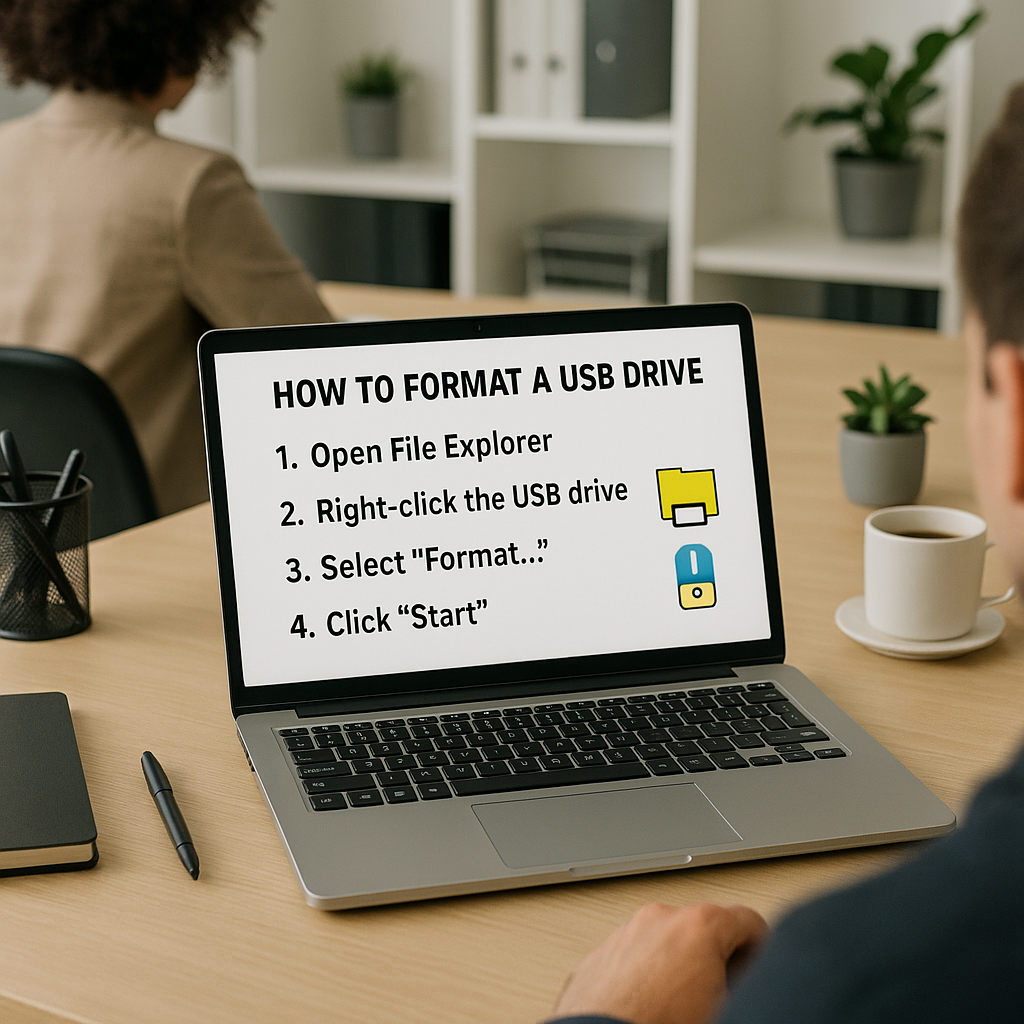
Step 2: Open File Explorer
– Press the Windows key + E, or click the File Explorer icon on the taskbar.
– Locate your USB drive in the left navigation pane. It should appear under “This PC” or “Devices and Drives.”
Step 3: Right-Click and Choose Format
Right-click on the USB drive icon and select “Format” from the context menu. A new window will open, allowing you to customize the formatting options.
Step 4: Choose File System and Configure Options
In the format window:
– Select the File System (choose between FAT32, NTFS, or exFAT depending on your needs).
– Enter a Volume Label, which is a name for your drive.
– Check or uncheck the “Quick Format” option. A full format takes longer but verifies sectors.
Step 5: Start Formatting
Once you’ve confirmed your options, click the “Start” button. A warning will appear, reminding you that all data on the drive will be erased. If you’re sure, click “OK” to begin formatting!
Step 6: Completion Message
When the process is done, a completion message will appear. Click “OK,” and your USB drive will be ready for use!
Benefits of Formatting Your USB Drive Regularly
At Best Choice, we believe in regular maintenance of digital assets to keep business operations running smoothly. Here are some key benefits of regular USB drive formatting:
- Performance Boost: Freshly formatted drives often perform better, improving data transfer speeds.
- Better Security: Formatting minimizes the risk of sensitive data falling into the wrong hands.
- Improved Stability: Helps reduce errors and increase reliability.
Considerations and Final Thoughts
Before proceeding with formatting any USB drive, always back up important data! Formatting is irreversible, and data recovery can be complicated and expensive. It’s always a good idea to ensure you’ve transferred any necessary files to another location.
In summary, formatting a USB drive in Windows is a straightforward yet essential process for managing your digital assets. Whether you’re a small café looking to streamline your bookings through digital means or an online store managing vast amounts of data, formatted USB drives can help you maintain organization and efficiency.
At Best Choice, we’re here to support businesses in Denmark and across Europe by providing custom IT solutions tailored to enhance workflows, automate routine processes, and ultimately increase your revenue. If you need help with data management or any IT-related services, don’t hesitate to reach out to us for support!