How to Safely Clean Your USB Ports
Cleaning USB ports might not be at the forefront of your mind, especially when you’re busy running a business. However, ensuring that your devices are in optimal condition is crucial for maintaining efficient workflows and preventing technical hiccups. In our digitally-driven world, USB ports are often the backbone of connectivity, enabling you to connect various devices—be it printers, external drives, or charging cables. In this article, I’ll share the proper techniques for safely cleaning your USB ports without causing damage.
Whether you’re a tech novice or a seasoned entrepreneur, taking care of your hardware can save you time and reduce frustration, allowing you to focus on what truly matters—growing your business.
Why Cleaning USB Ports is Important
Over time, dust, lint, or other debris can accumulate in your USB ports. This buildup could lead to connectivity issues such as intermittent device recognition, poor power transfer, or complete failure to connect. In a busy environment—like an office, clinic, or warehouse—such disruptions can lead to decreased productivity and increased downtime. Here’s how to safely address this issue without reaching for harmful or ineffective cleaning products.
1. Gather the Right Tools
Before you get started, gather the necessary tools for the job. Here are some items I recommend:
- Compressed air canister
- Cotton swabs
- Soft-bristled brush (like a toothbrush)
- Microfiber cloth
- Isopropyl alcohol (preferably 70% or less)
Having the right tools helps ensure you clean safely and effectively.
2. Power Down Your Device
Before diving into the cleaning process, always power down your device. Disconnect your USB cables as well. This ensures your device is not receiving power and minimizes the risk of electrical shock. It also prevents any potential data corruption during the cleaning.
3. Using Compressed Air
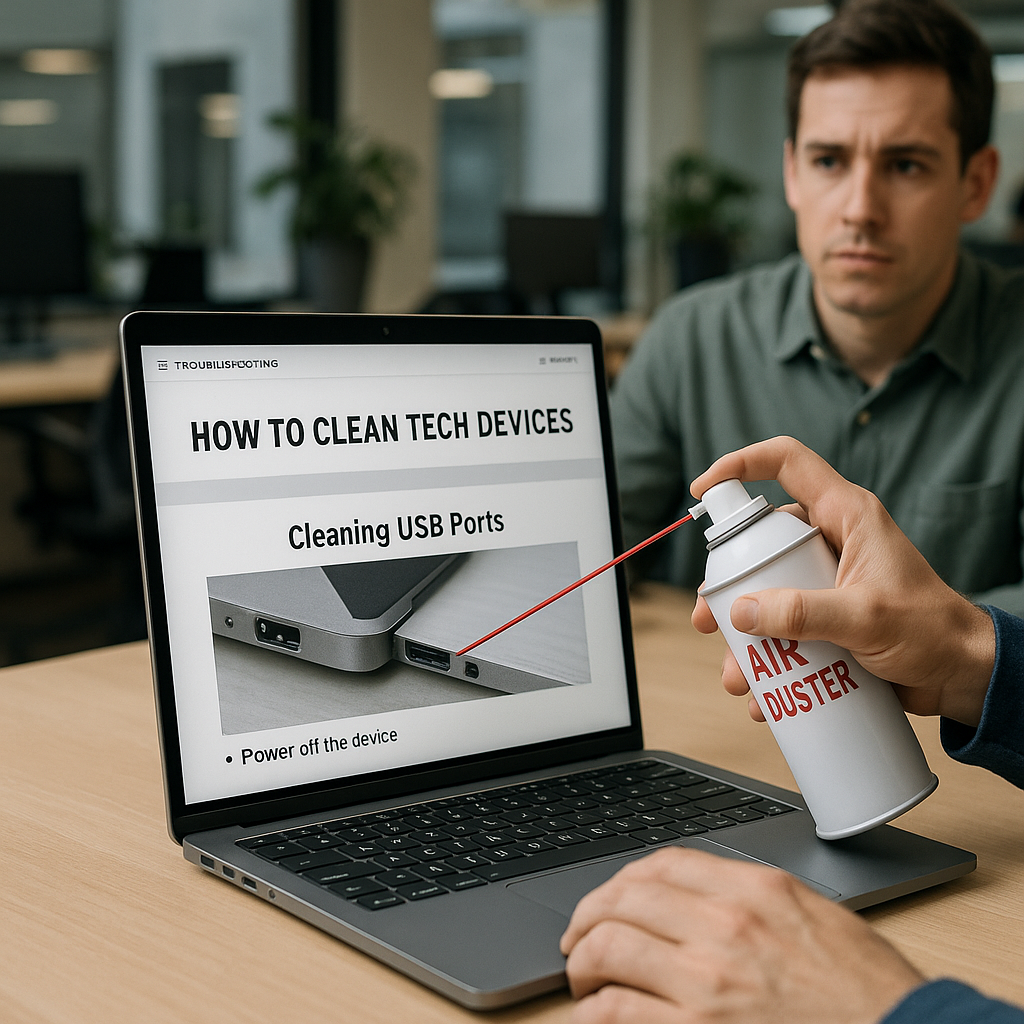
Start with a can of compressed air. Hold the can upright, and give a few short bursts into the USB port. This helps dislodge any loose debris without needing to insert anything into the port. Ensure you’re at least a few inches away to avoid moisture from the can entering the port.
4. The Cotton Swab Caution
I urge you to be cautious if you plan to use cotton swabs. If you’re set on this method, moisten a cotton swab with a tiny amount of isopropyl alcohol—never too much! Gently insert the moist swab into the USB port and swab the edges. Avoid using Q-tips as they can leave lint and may not effectively reach deep inside.
5. Soft-Bristled Brush for Stubborn Grime
If you notice more stubborn grime in the USB port, a soft-bristled brush (like a dry toothbrush) can be useful. Gently brush the insides of the port, being careful not to push any debris deeper. This will help remove any caked-on dust or particles.
6. Final Wipe Down
Once you’ve finished cleaning the port, use a microfiber cloth to wipe the exterior of the device. This not only improves the appearance of your hardware but also ensures any remaining dust is cleared. Allow the USB port to dry completely before reconnecting any devices.
Conclusion
By following these steps, you can maintain the efficiency and longevity of your devices. Regular USB port maintenance is often overlooked but can save you significant time and prevent costly replacements later on.
If you find yourself frequently dealing with connectivity issues, perhaps it’s time to consider a more comprehensive digital solution—one that includes regular IT support and maintenance for your staff. At Best Choice, we specialize in providing tailored IT consulting and automation services, ensuring your tech runs smoothly so you can focus on growing your business. If you have any questions or need advice on improving your IT systems, don’t hesitate to contact us today!