# How to Turn Your Old MacBook into a Home NAS Server
If you’re like many entrepreneurs or business decision-makers, you probably have an old MacBook tucked away in a corner, gathering dust. But what if I told you that this underutilized piece of technology can be transformed into a powerful home Network-Attached Storage (NAS) server? At Best Choice, we understand the value of utilizing existing resources efficiently. In this article, I will walk you through the process of repurposing your old MacBook into a home NAS server that not only saves you money but also significantly enhances your digital storage and media playback capabilities.
Many small businesses in Denmark and across Europe seek efficient ways to manage their data, and having a reliable NAS solution can streamline workflows, consolidate files, and provide a centralized hub for storage. Whether you’re running a café, a small online store, or a busy clinic, a NAS can make file management smoother and more accessible, helping you concentrate on what matters most: growing your business.
## What is a NAS?
A NAS server is a dedicated file storage device that connects to your home or office network and allows users to store and retrieve data from a centralized location. Unlike traditional file servers that require extensive setup and maintenance, a NAS is user-friendly and can be accessed by multiple devices, including smartphones, tablets, and laptops.
### Why Repurpose Your Old MacBook?
1. **Cost-Effective Solution**:
Using your old MacBook as a NAS server saves you from investing in new hardware. This not only reduces expenditure but also reduces electronic waste, which is a growing concern in today’s world.
2. **Enhanced Functionality**:
With software and applications readily available, turning a MacBook into a NAS server can significantly enhance its capabilities. You can set up file sharing, backup solutions, and even media streaming features, thus breathing new life into your old device.
3. **Flexibility**:
A NAS server allows you to easily access your files from any device in your network, whether you are at home, in your office, or even traveling. This level of flexibility can improve productivity and collaboration amongst team members.
## How to Set Up Your Old MacBook as a NAS Server
### Step 1: Preparation
Before you dive into the technicalities, make sure your MacBook is in good working condition. Remove any unnecessary files to maximize disk space and back up any essential data.
### Step 2: Install macOS Server
To transform your MacBook into a NAS, consider installing macOS Server, a version designed specifically for server management. While it does come with a purchase price, the benefits it offers—such as file sharing, and cloud storage—make it worth the investment for small businesses looking to streamline operations.
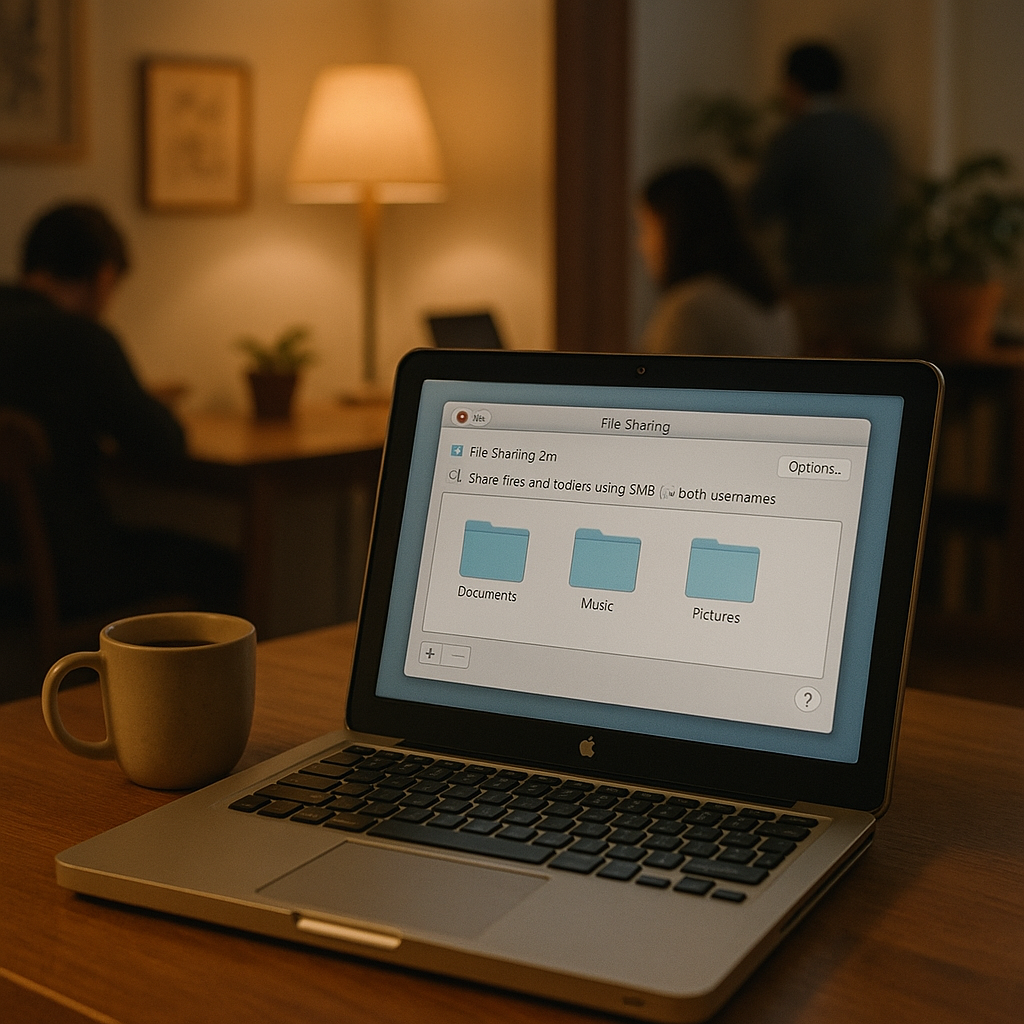
### Step 3: Configure File Sharing
1. Go to **System Preferences**.
2. Click on **Sharing**.
3. Check the box next to **File Sharing**.
4. Select the folders you wish to share and set the permissions for different users.
This simple setup can ensure that files are accessible to those who need them while keeping sensitive information secure.
### Step 4: Remote Access
With remote access configured, you and your team can access files from anywhere. By enabling VPN (Virtual Private Network), you can keep your data secure while remotely managing your server.
### Step 5: Consider Backup Solutions
To maximize the utility of your NAS, consider setting up a backup system. Time Machine is a great option available on macOS that automatically backs up your files. This ensures that your business-critical data is always intact and secure.
## Real Business Examples
Let’s consider a very relatable example: a local café that uses its old MacBook as a NAS. By storing inventory lists, employee schedules, and recipes on the server, all staff can access these documents easily, whether they are in the front of the house or in the back kitchen. The café also implements a media server where playlists can be stored and streamed directly to in-house speakers, enhancing customer experience effortlessly.
Similarly, a small online retailer can utilize a MacBook as a NAS for storing product images and descriptions, allowing team members to quickly access resources and update the inventory without time consumption and inaccuracies.
## Actionable Tips for Maximizing Your NAS
1. **Optimize Your Network**: Ensure that your Wi-Fi connection is robust to facilitate seamless access to files. If you experience slow speeds, consider investing in a better router or using Ethernet connections for quicker access.
2. **Regular Maintenance**: Keep your MacBook updated and routinely check the server performance. Deleting unnecessary files and optimizing storage can keep your NAS running smoothly.
3. **Utilize Third-Party Apps**: While software such as macOS Server provides great functionalities, consider using third-party applications designed for specific tasks like server monitoring or file synchronization for enhanced capabilities.
## Conclusion
Transforming your old MacBook into a home NAS server can revolutionize how you manage and store data, making it a practical and cost-effective solution for any small business. By giving your MacBook a new lease on life, you can improve collaboration, data security, and flexibility in managing your digital assets.
If you need help setting up your NAS or are looking for a more customized solution for your business, don’t hesitate to contact us at Best Choice. We’re here to assist you in leveraging the power of technology to streamline your operations and boost productivity.